
How to Set Up a Charging Station for Devices at Home
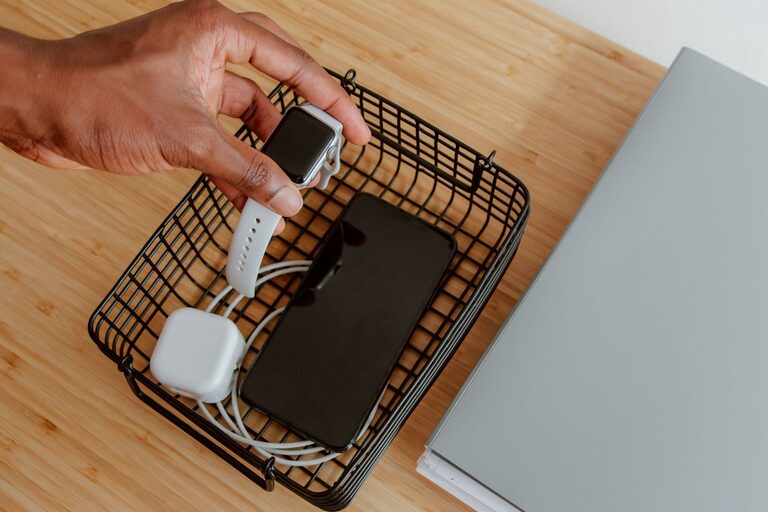
Setting up a charging station for your devices is a simple way to organize your electronics, reduce clutter, and keep everything charged in one convenient place. Whether you have smartphones, tablets, laptops, or other rechargeable gadgets, a charging station helps streamline your daily routine. In this guide, we’ll walk you through the steps to create a functional and neat charging station at home.
Why Have a Charging Station?
Many households struggle with tangled cords and scattered devices. A charging station offers:
– Centralized charging for multiple devices
– Reduced cable clutter and mess
– Easier access to your gadgets when you need them
– Safer charging by preventing overstretched cables and overheating
Now, let’s explore how to build your own charging station.
Step 1: Choose the Right Location
Selecting a good spot is key for a successful charging station.
Consider These Factors:
– Accessibility: Place it where you and your family spend the most time, such as the living room, kitchen, or home office.
– Power Source: Ensure the location has easy access to electrical outlets.
– Surface Space: Choose a flat surface like a small table, shelf, or desk.
– Ventilation: Avoid cramped spaces to prevent devices from overheating while charging.
Step 2: Select a Charging Station Style
There are various ways to design a charging station based on your needs.
Options to Consider:
– Multi-Port USB Charger: A device with multiple USB ports allows simultaneous charging of many gadgets using fewer wall outlets.
– Docking Station: Ideal for smartphones and tablets, docks hold the device upright while charging.
– DIY Charging Station Box: Repurpose a box or organizer with cutouts for cables and device slots for a customized approach.
– Charging Drawer: Convert a drawer into a hidden charging area with built-in cable management.
Step 3: Gather Your Supplies
Before setting up, collect what you’ll need.
Basic Supplies:
– Multi-port charger or individual chargers
– Charging cables compatible with your devices (USB-C, Lightning, Micro-USB, etc.)
– Cable organizers (clips, sleeves, or ties)
– A tray, box, or stand to hold devices
– Power strip or surge protector if multiple outlets are required
Step 4: Organize Cables and Devices
Cable management is essential to keep your station neat.
Tips for Managing Cables:
– Use cable clips or ties to bundle extra wire length.
– Label cables if you have many similar cords.
– Route cables behind furniture or inside boxes to hide them.
– Avoid mixing power cables with other wires to reduce interference.
Step 5: Arrange Devices Strategically
Place devices in a way that prevents overcrowding and ensures easy use.
– Position frequently used devices within arm’s reach.
– Keep heavier items on the bottom if stacking.
– Allow space between devices to prevent overheating.
Step 6: Safety Considerations
Keep safety in mind as you set up.
– Avoid overloading power outlets to prevent electrical hazards.
– Use chargers with built-in surge protection.
– Do not cover devices while charging to allow heat dissipation.
– Regularly inspect cables and chargers for wear or damage.
Step 7: Maintain Your Charging Station
Regular upkeep will keep your station efficient.
– Clean dust and debris weekly.
– Check cables and replace any that are frayed.
– Update or upgrade chargers as needed for device compatibility.
– Reorganize if your device collection changes.
Bonus Tips
– Add a Label or Sign: Helps family members know the station’s purpose and keep it tidy.
– Incorporate Lighting: Small LED lights can make it easier to see and plug in devices.
– Use Wireless Chargers: If your devices support wireless charging, adding wireless pads reduces cable clutter even more.
—
Creating a designated charging station can transform your home or workspace by keeping all gadgets powered up and organized. With a bit of planning and the right tools, you can enjoy a clutter-free charging experience every day. Try these steps, and enjoy the convenience of your new charging station!